Renovating a kitchen can look simple on paper. Then one wrong measurement leaves a refrigerator door hitting the island. This guide examines what are common mistakes in kitchen renovation and why they happen in real homes. It focuses on planning failures, weak storage decisions, poor lighting, unsafe electrical work, and budgets that collapse under small changes.
Mike Holmes, a veteran Canadian contractor and renovation authority, often gives practical advice: “Do it right the first time.” That principle matters here. Moving plumbing after cabinets arrive is expensive. Choosing a beautiful sink without checking cabinet clearance is frustrating. Ignoring ventilation can leave grease on walls and moisture inside cupboards. These details are easy to overlook.
The following tips draw on common remodeling experience, contractor practice, and manufacturer guidance. They will explain how to measure appliances, confirm the work triangle, compare materials, and protect essential walking space. They will also address permits and qualified tradespeople, because attractive finishes cannot repair unsafe work. A little planning helps.
Still, no kitchen plan is perfect. Homeowners may underestimate delivery delays, dust, or the emotional strain of living without a working sink. I have seen renovation schedules fail because one tile shipment arrived late. That is a useful warning, not a reason for panic. Leave realistic time and money reserves. Ask uncomfortable questions before demolition begins. Your future self will appreciate that discipline.
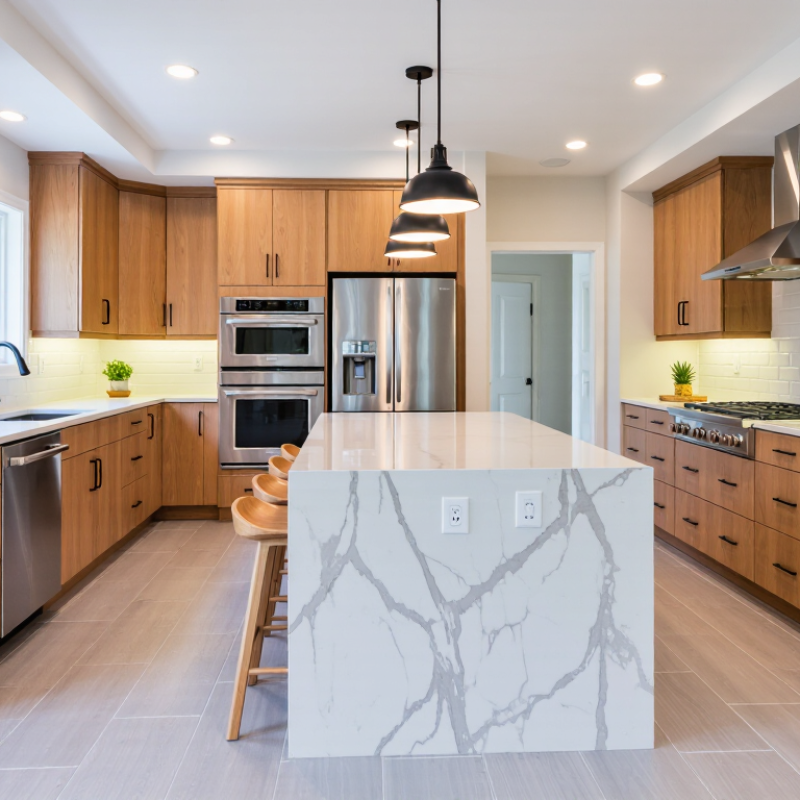
Before choosing tiles or appliances, define the kitchen renovation scope. Measure the room, mark plumbing points, and list every required task. Separate essentials from attractive upgrades. Moving a sink may affect flooring, electrical work, and permits. Small changes can expand quickly.
Tip 1: Write a room-by-room scope.
Set priorities around safety, function, and daily routines. A reliable work triangle may matter more than decorative lighting. The 2024 Cost vs Value report found that a minor kitchen remodel recovered about 96% of its cost at resale. Larger projects recovered far less. That difference supports disciplined planning. Do not assume expensive finishes create equal value.
Tip 2: Build three budget levels.
Record must-haves, useful improvements, and optional details. Add a 15% to 20% contingency for hidden damage, delivery delays, or measurement errors. A 2024 U.S. kitchen trends study reported a median major-remodel spend near $75,000. Regional labor costs vary sharply, so national figures are only starting points. Get at least three written estimates with matching scopes. Read every allowance carefully. I once underestimated temporary kitchen costs; daily meals became expensive and frustrating. Leave room for mistakes. They happen.
Inspect samples under bright light and beside water sources. Glossy surfaces may reveal fingerprints, scratches, and dried droplets. Test cabinet finishes with coffee, oil, and lemon juice. Showrooms can be misleading.
Choose hard, water-resistant flooring for areas near sinks and cooking zones. Porcelain tile with very low water absorption can handle dropped pans. Check slip resistance and surface texture carefully. Hard does not mean perfect.
Ask for cycle ratings and written warranty terms. Test hinges, drawer runners, and edge bands repeatedly. Weak hardware becomes obvious through daily use. Do not accept vague promises.
Match appliance size to cooking habits, electrical capacity, and ventilation. Measure door swings twice, including handle clearance. An expensive refrigerator can still block a walkway. I once missed this detail.
Mark every appliance on a scaled drawing before demolition. Confirm pipe routes, outlets, switches, circuits, and ventilation paths. Old circuits may not support modern cooking equipment. A qualified professional should check capacity and local requirements.
Use the shortest practical duct route, with sealed joints and few sharp bends. Check beams, cabinets, and ceiling heights before installation. A squeezed duct can increase noise and reduce extraction. The layout may look beautiful, but airflow still matters.
Schedule inspections before closing walls, floors, or ceilings. Check wiring, plumbing joints, drainage slopes, and ventilation access. Early repairs may take one hour. Late repairs can remove countertops or cabinets.
Put the scope, payment stages, materials, deadlines, and cleanup duties in writing. Take dated photographs before pipes and cables disappear. Test every drawer, switch, outlet, faucet, drain, and appliance space. Review defects in daylight.
Keep permits, inspection reports, approved drawings, warranties, and service details together. Photograph concealed connections before they are covered. These records help future repairs. My memory once sounded certain, but it was wrong.
A successful kitchen renovation begins with a clearly defined scope, realistic priorities, and a carefully controlled budget. Before work starts, measure the space accurately and plan a practical layout that supports smooth movement, sufficient storage, and convenient work zones. Understanding what are common mistakes in kitchen renovation can help homeowners avoid poor space planning, underestimated costs, and choices that reduce long-term comfort.
Materials, appliances, and fixtures should be selected for durability, functionality, and compatibility with the overall design. It is also important to coordinate plumbing, electrical systems, lighting, and ventilation before installation begins, since late changes can cause delays and extra expenses. Throughout the project, maintain a detailed schedule, communicate clearly with contractors, and arrange required inspections at the appropriate stages. Before final payment, check cabinets, surfaces, connections, lighting, ventilation, and finishing details carefully to ensure the completed kitchen is safe, efficient, and ready for everyday use.

 Bashan Living